

Introduction
I’ll be blunt: spark risks are a silent hazard on many shop floors, and they bite when you least expect it. In confined spaces, workers reach for non sparking tools to avoid igniting flammable vapors — yet incidents still happen (more often than managers admit). Recent industry data show that tool-caused ignition accounts for a measurable slice of small-incident reports — so how do we cut that number down? This piece walks through a simple scenario, presents hard numbers, and asks the practical question every technician cares about: what can we actually change today to reduce spark-related events? Let’s move from problem to practice.
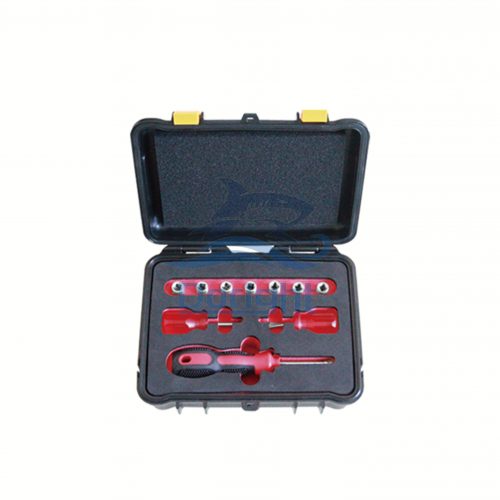
Why Common Fixes Fail: A Technical Look at Non-Sparking Safety Tools
non sparking safety tools are the go-to answer for hazardous zones, but I’ve seen good intentions fall short. Manufacturers often stress alloy chemistry—copper alloys, beryllium-bronze, aluminum-bronze—to reduce impact sparks. That helps, but the flaw lies in how tools are specified and used in the field. For example, an “intrinsically safe” sticker or a shiny anti-spark finish won’t prevent ignition if a tool is worn, misused, or dropped repeatedly. Add electrostatic discharge (ESD) and improper grounding—like a missing grounding clamp—and you still have a hazard. Systems thinking matters: tool metallurgy, torque control on fasteners, and regular spark testing must work together, not in isolation.
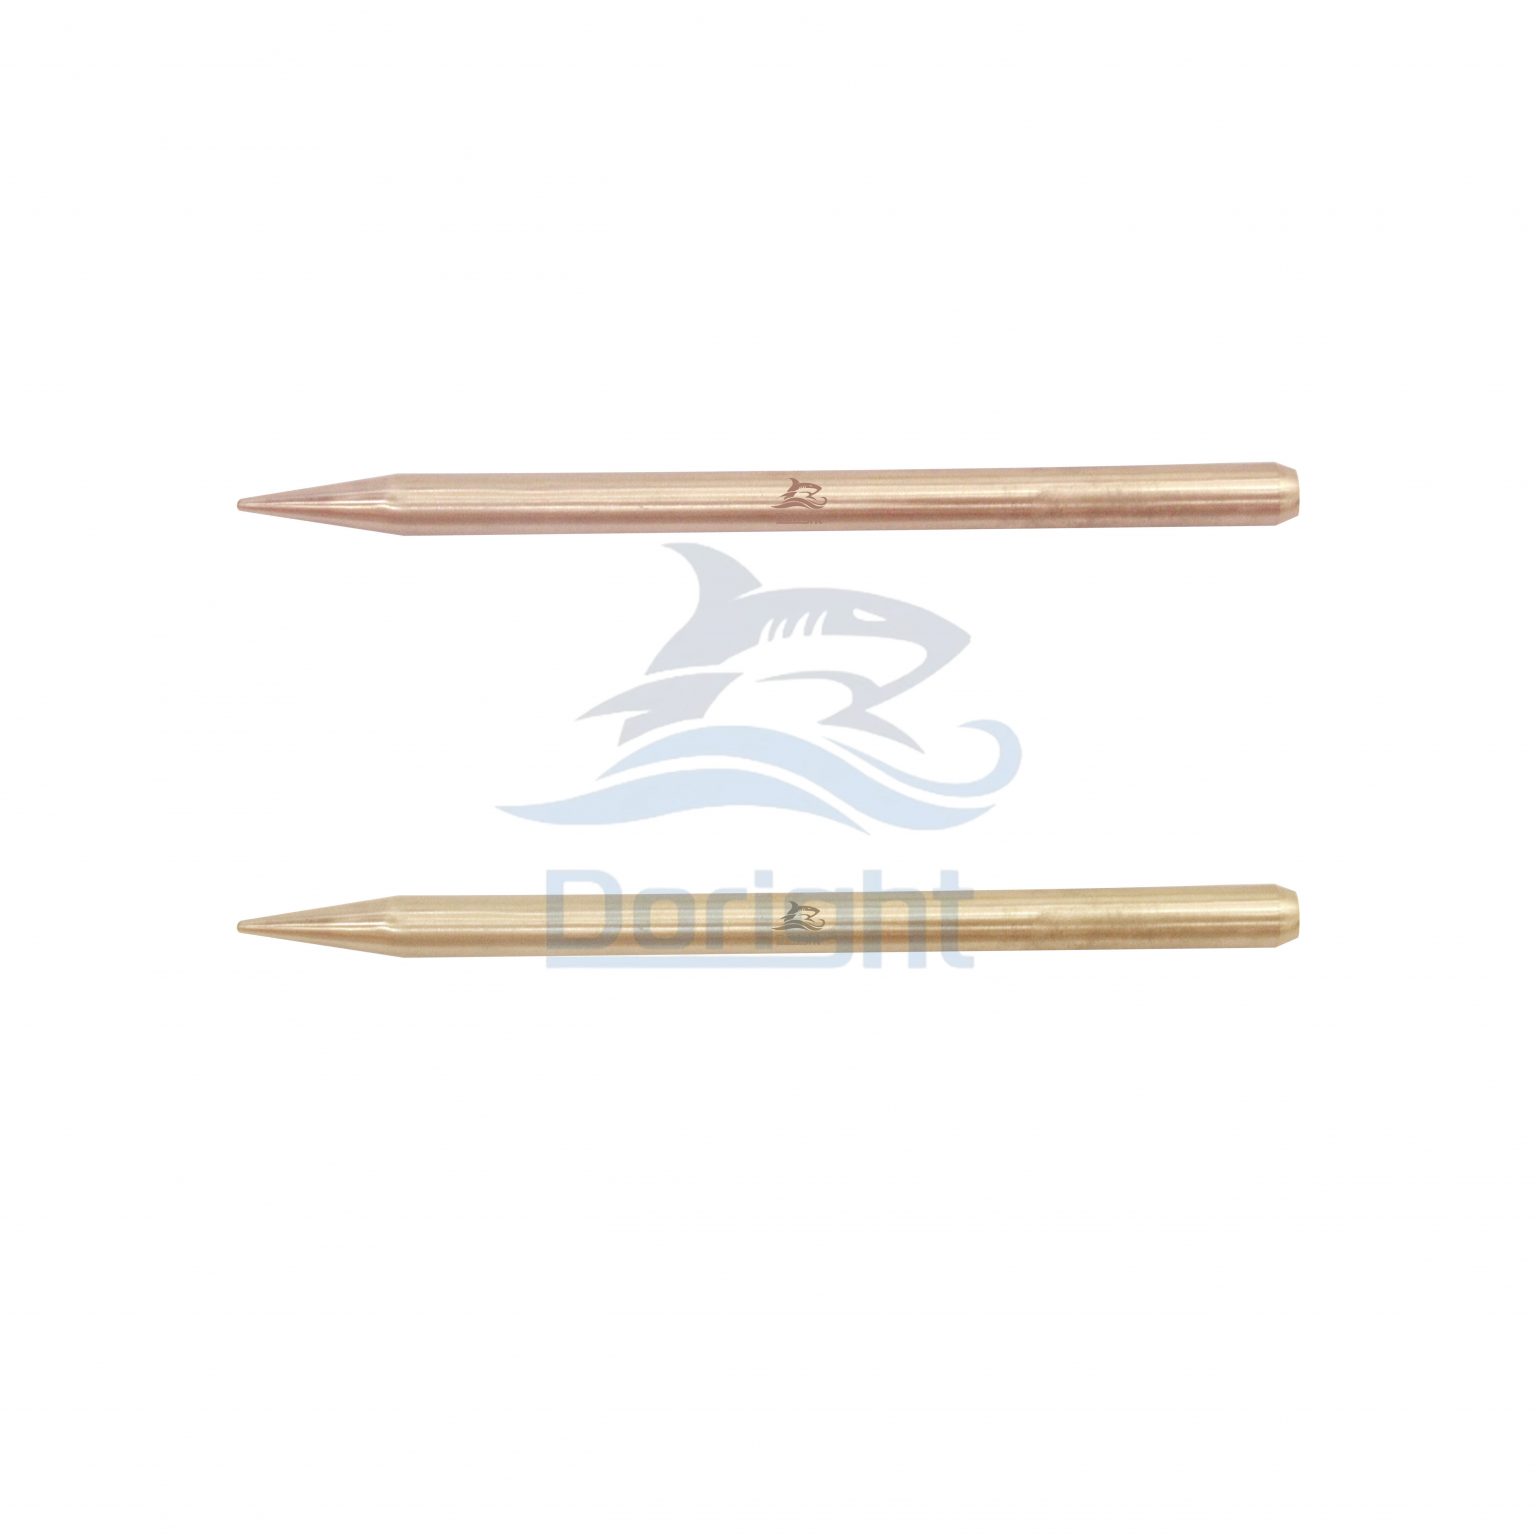
Look, it’s simpler than you think — maintenance routines are often the weak link. A copper alloy wrench with rounded edges may pass a bench test but fail under real torque cycling. Workers sometimes mix tool sets across tasks, which muddles hazard classification and increases risk. I’ve audited sites where flameproof enclosure work was done with the wrong tool set; the tools themselves weren’t the only problem—procedures, training, and storage were. So we need to treat tools as part of a broader safety system, not a plug-in fix.
What goes wrong most often?
Worn tool surfaces, ignored inspections, and complacent task assignment top the list. Also—funny how that works, right?—documentation that never reaches the shop floor. Address those and you reduce the real-world failure rate more than any single alloy change will.
Future Outlook: Case Examples and How Copper Options Fit In
I want to look ahead with two short case examples that show how small changes scale. Case one: a mid-size refinery replaced mixed tool kits with certified sets, enforced daily inspections, and tracked torque values. Incidents dropped within months. Case two: a chemical plant upgraded to a full program that included tool traceability, spark testing, and a change in procurement policy favoring known alloys. Both used copper non-sparking tools — copper non-sparking tools — but the real gain came from process change, not just hardware.
These examples point to future priorities: integrate tool management with hazard classification, enforce routine spark and wear checks, and use data (simple logs are fine) to spot trouble early. For firms adopting edge computing nodes and digital tool tracking, you can get predictive alerts on worn parts before failure. That’s not science fiction; it’s the next sensible step for shops serious about safety.
What’s Next — Real-world Impact
We’re moving from “buy tools and hope” to “manage tools and prevent.” If you want a practical closing: measure three things — wear rate, incident frequency, and tool traceability. Those metrics tell you whether your program is working. I’d advise teams to start small: a pilot program on one crew, real data for 60–90 days, then scale up. We’ve done this; it works. And yes, the upfront time pays back in fewer near-misses and less downtime.
Closing: How to Choose and Evaluate Non-Sparking Tools
To wrap up with actionable guidance, here are three evaluation metrics I recommend when choosing non-sparking solutions: 1) Material verification and batch traceability (know the copper alloys and their source). 2) Maintenance and inspection cadence (daily checks, documented). 3) Integration with site procedures and grounding practices (ESD mitigation and grounding clamps included). Use these to compare vendors and to audit your current inventory. I prefer simple checklists that crews actually use — not theoretical specs no one reads. In my experience, the right mix of good tools, consistent inspections, and clear procedures reduces risk faster than any single “advanced” alloy claim.
We’re pragmatic here: implement small controls, measure results, and iterate — the workplace gets safer. For tools and kits that fit this approach, check options from Doright.