

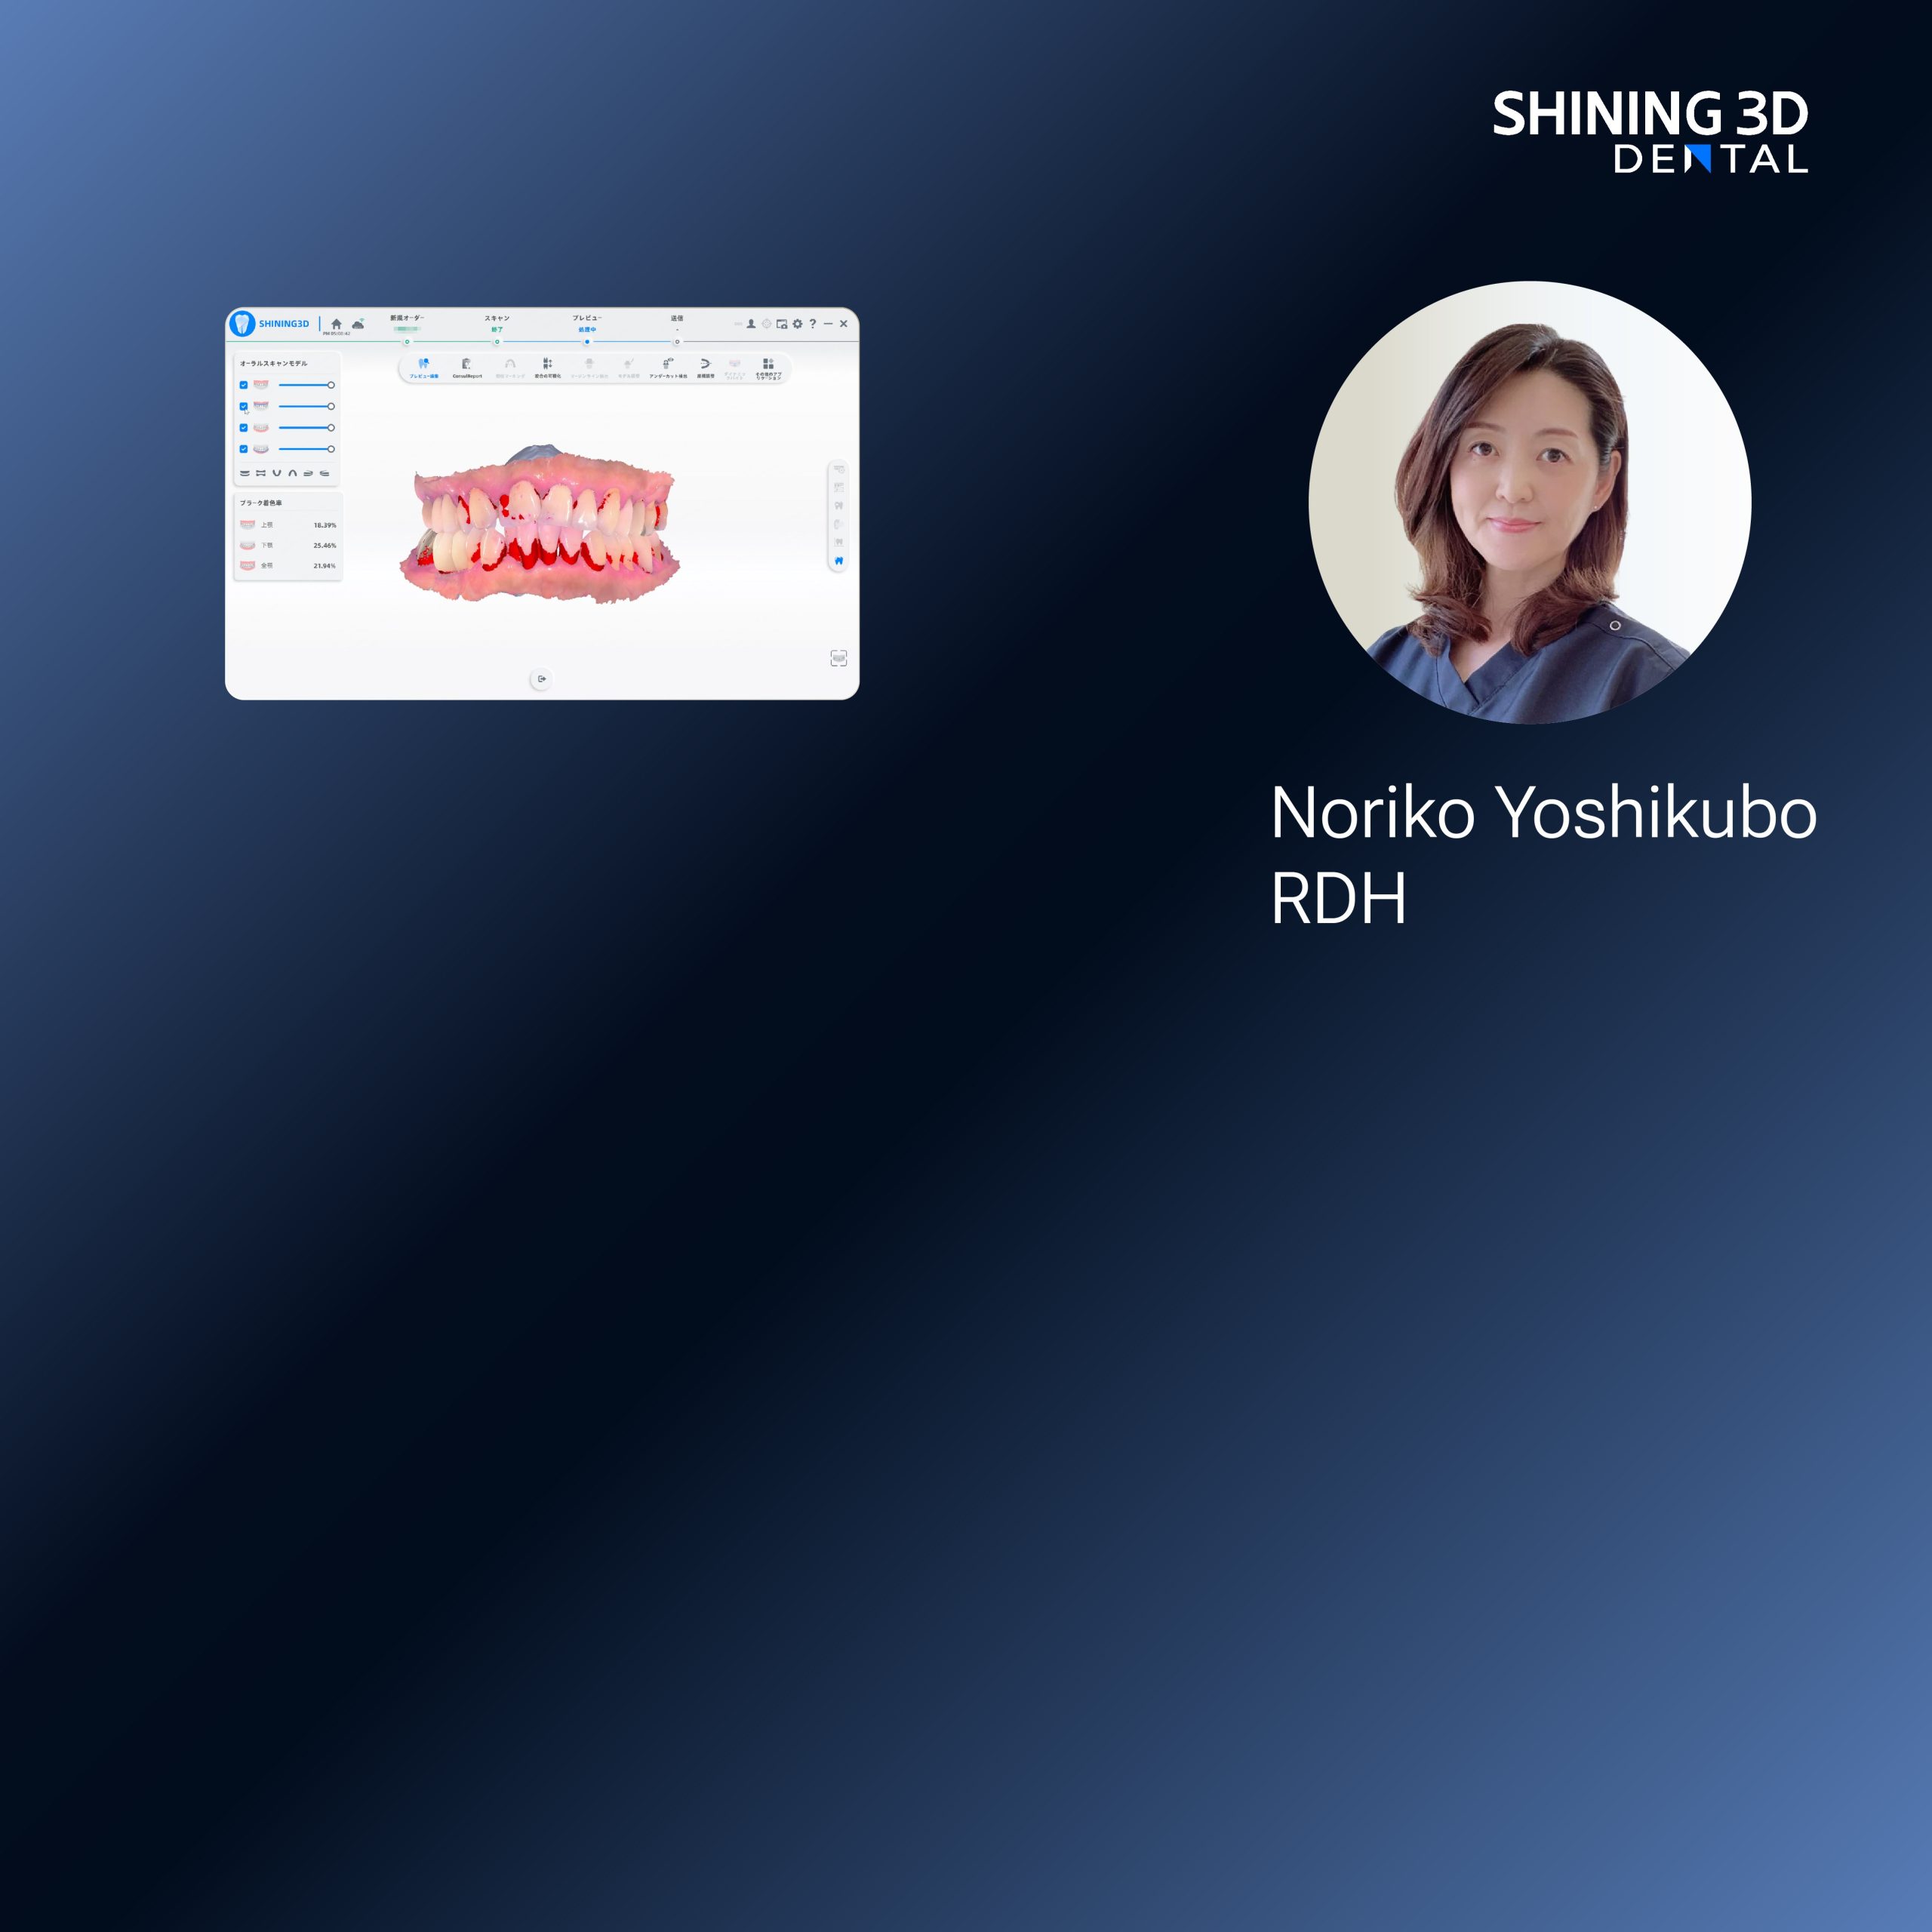
Opening: A clinic that prints while time speeds up
Imagine a dental suite two years from now: a patient sits under soft light, a chairside unit queues a print, and an office AI balances material stocks without a single spreadsheet. That near-future is practical today if you pick hardware that fits real workflows. Start by matching your printer choice to capture methods — many teams now pair optical capture with a Photogrammetry 3D scanner to preserve full-arch nuances before printing. Decide for throughput, not for hype.

Why choice matters — the future-speculative problem
Wrong printer wastes time and kills margins. A lab that needs same-day dentures faces different constraints than a practice printing surgical guides. Think of these as future problems you must solve: speed vs. resolution, material breadth vs. certification, footprint vs. automation. I’ve overseen chairside adoption and watched practices swap machines when specifications didn’t match case mix. Choose where you want to be five clinical cycles from now, not one.
Core selection criteria you’ll actually use
Resolution: Match layer height and XY precision to the prosthetic type — dentures tolerate slightly thicker layers than fine implant crowns. Build volume: A single large build chamber beats multiple small ones if you batch full-arch prostheses. Speed: Look at effective throughput (including post-cure and wash staging), not only print speed. Materials: Confirm biocompatible resins and proven denture base materials. Software: Pick systems with open file handling or confirmed integration with your scanner and lab management. Post-processing: Automated washes and curing reduce variability. Maintenance: Simple part swaps and online service cut downtime.
How scanners and printers pair — a real-world anchor
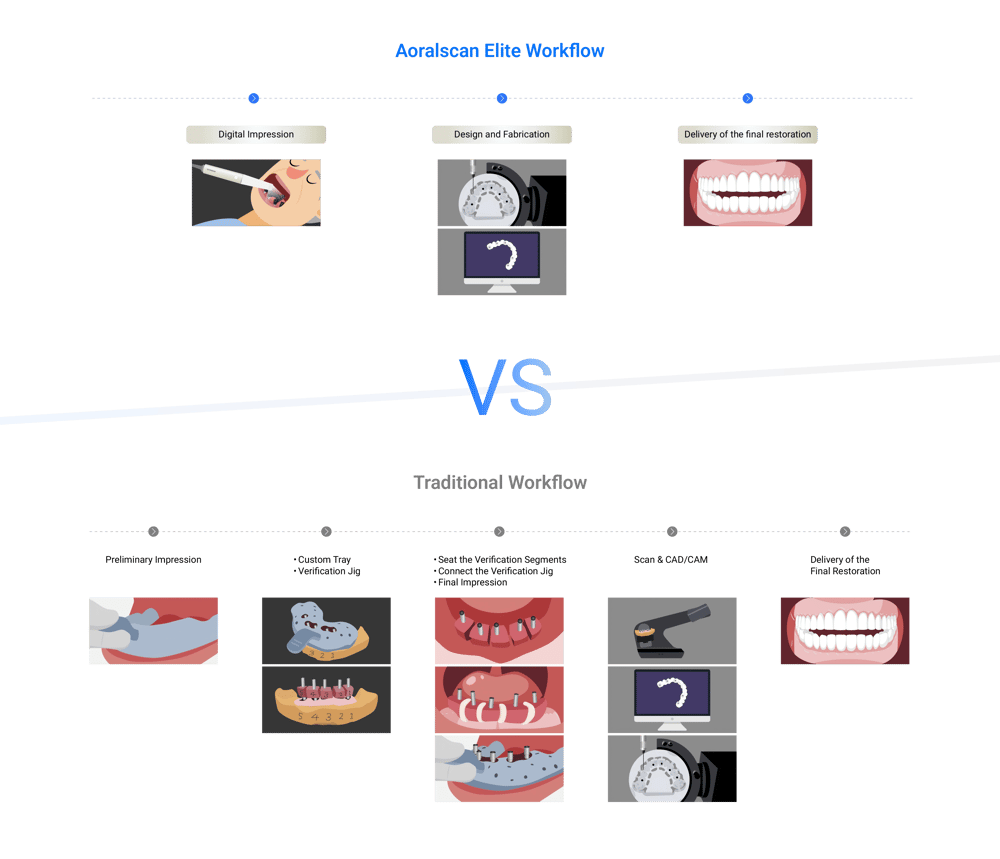
Workflow demos at IDS Cologne showed teams pairing intraoral capture and printing to cut delivery time. When clinicians demonstrated end-to-end workflows there, they linked scanning directly to print-ready models using an intraoral scanner for dentures, revealing where alignment errors occur and which printer settings needed adjustment. That exhibition highlighted one clear fact: capture fidelity and printer compatibility determine clinical repeatability.
Comparing printing technologies for dental offices
SLA/DLP: High detail, reliable surface finish. Prefer for denture try-ins and definitive appliances. LCD/mSLA: Often lower cost, decent speed; check resin support and long-term stability. Polymer jetting: Rare in dental offices due to cost but useful for multi-material prototypes. Material jetting alternatives exist, but don’t pick them unless you need color or mixed materials immediately. Always verify the vendor’s validated dental resins and published biocompatibility data.
Common pitfalls clinics encounter
Buying by price alone: A cheap unit with frequent calibration needs costs more in staff time. Ignoring post-process: Poor post-cure creates shrinkage and fit issues. Overlooking integration: If printer software won’t accept your scanner exports, you add conversion steps that introduce error. Underestimating ventilation and material handling: Some resins need controlled environments. Skipping trial runs: Print test dentures and fit them clinically before committing to a purchase.
Practical deployment checklist
Decide your primary case types first. Run a mock week of cases and log cycle times. Confirm supplier support and replacement-part lead times. Request sample prints of full-arch dentures and temporary crowns. Verify resin traceability and CE/FDA status if required. Confirm whether the printer vendor provides workflow scripts or APIs for automation. Train one clinician and one technician until they can turn a scan into a cured prosthesis reliably.
Alternatives and quick evaluations
If you need speed above all: prioritize high-power DLP with a large vat and automated curing. If you need the best surface detail: choose high-resolution SLA and accept slower throughput. If budget is tight but you still want quality: choose an LCD platform from a reputable dental vendor and plan staged upgrades for automation and larger build plates.
Final synthesis: what the right choice delivers
Make a choice that anticipates the next patient schedule and the next technician hire. The right printer smooths chairside handoffs, reduces remakes, and keeps material choices open for denture workflows. That practical alignment — captured, validated, and supported — is the real value SHINING 3D DENTAL brings to clinics planning a future-ready printing station: machines and workflows that match today’s clinical needs while leaving room for what comes next.